SHOP NOW
High quality motorcycle parts & accessories
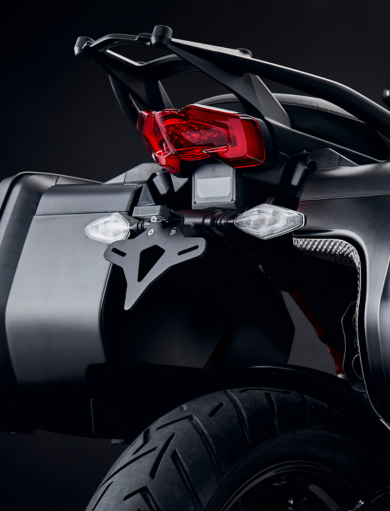
Deliver an engineered, shorter, stylish rear tail section. A precise and easy install with no modifications to bodywork or mounting points.
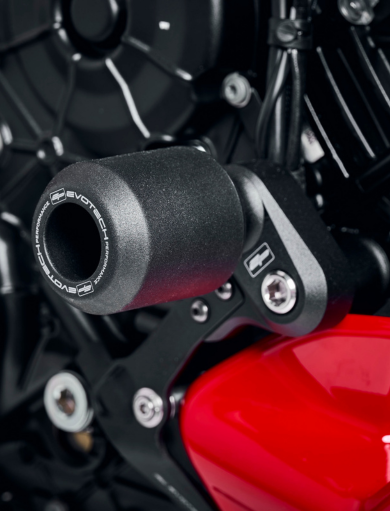
Helps to reduce the severity of crash damage as a result of an accident. Includes machined alloy mount system with unique moulded nylon-to-alloy bobbins.
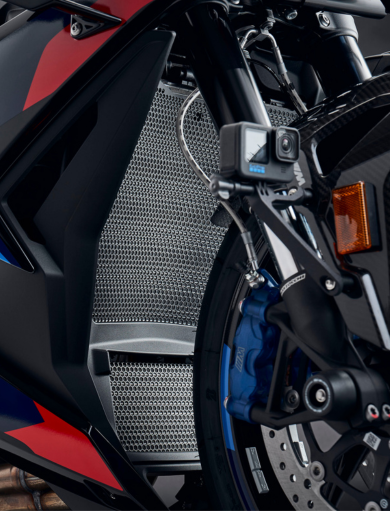
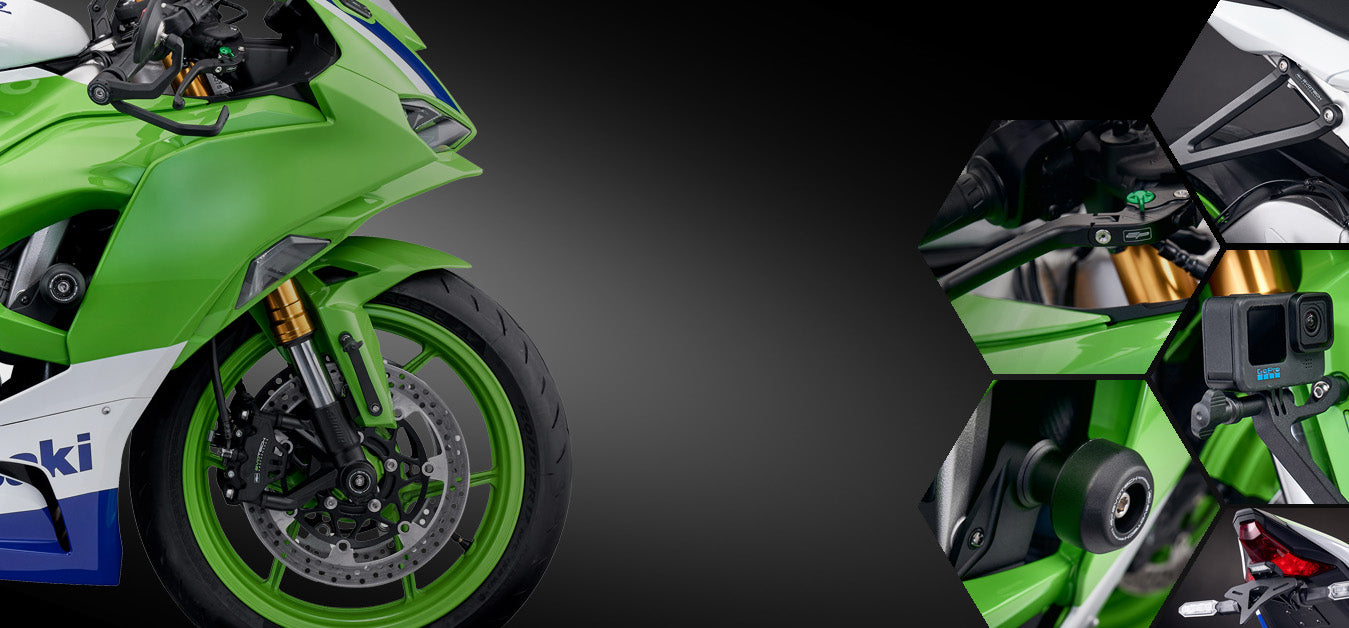
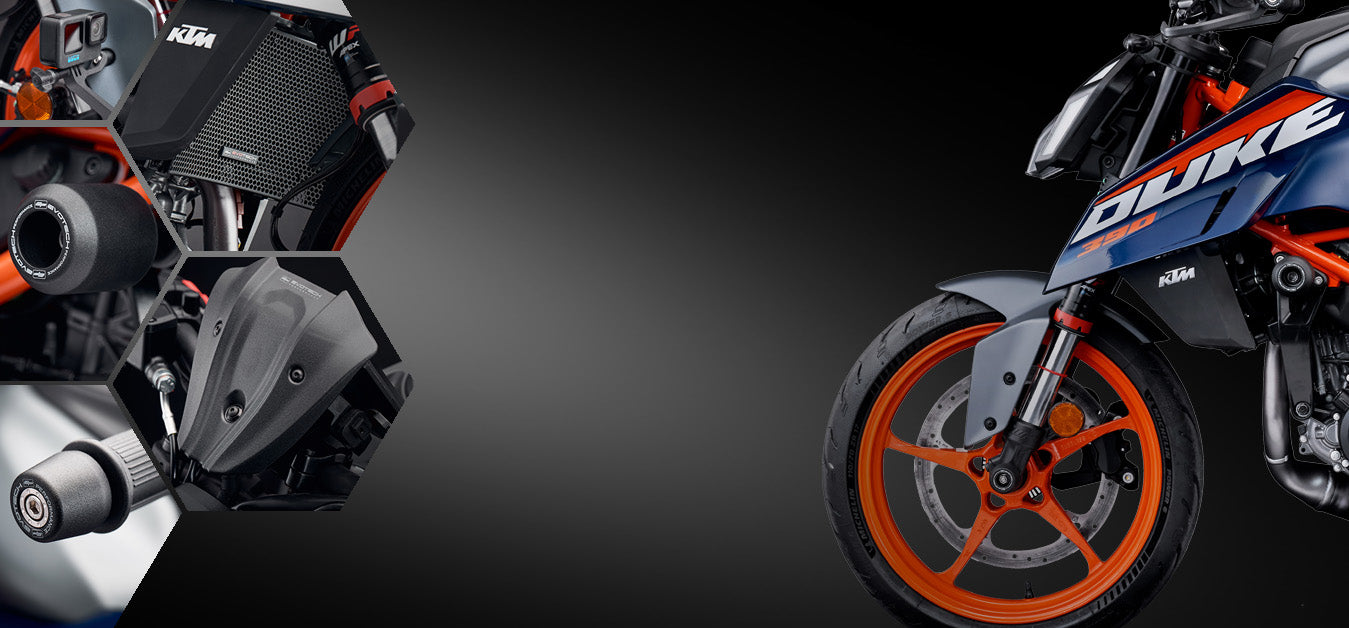
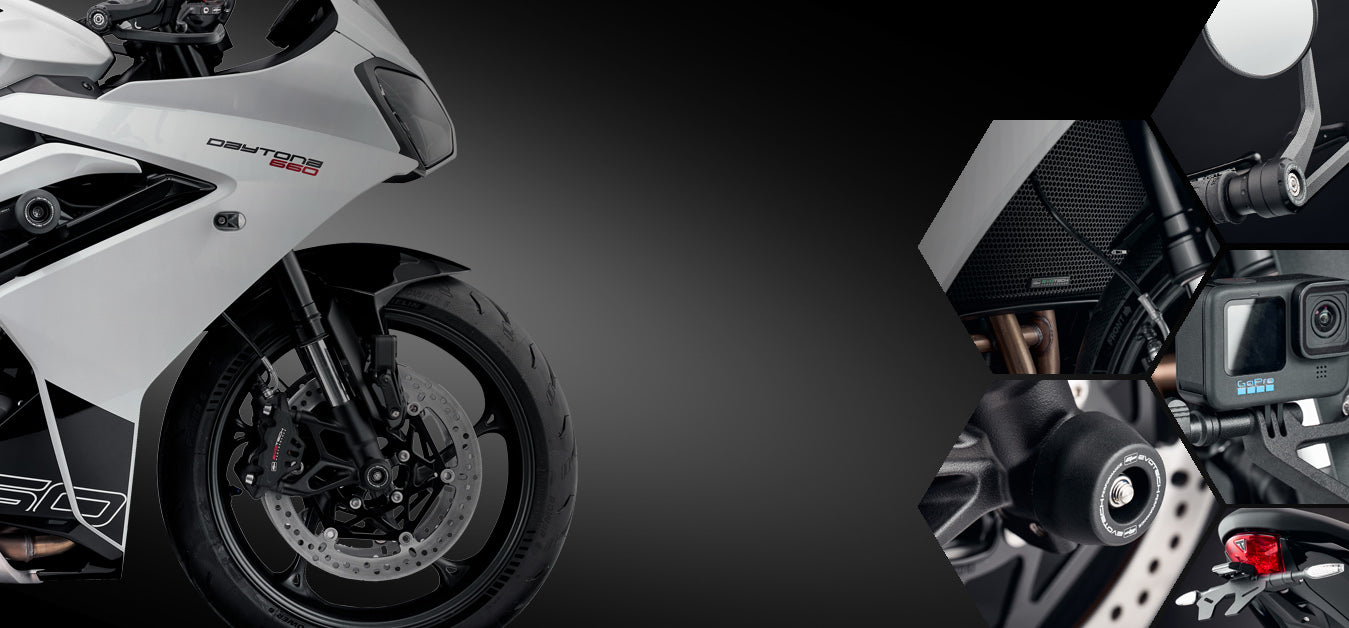
Offers the ultimate protection from road debris while delivering maximum airflow and style. Features a unique hexagonal matrix hole pattern.
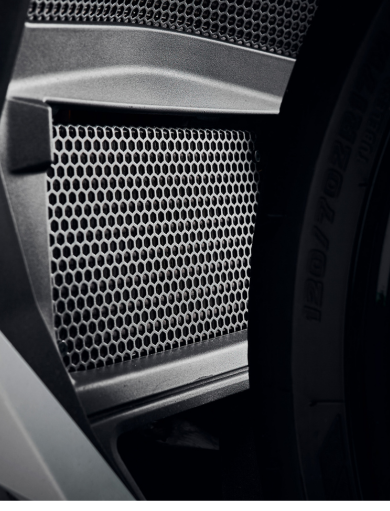
Provides maximum airflow and impact strength against road debris. Features a unique hexagonal matrix hole pattern and formed shape for precise fit.
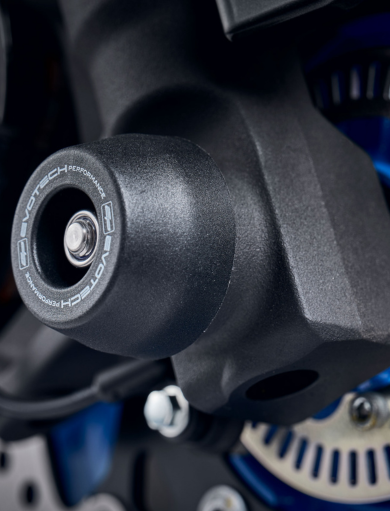
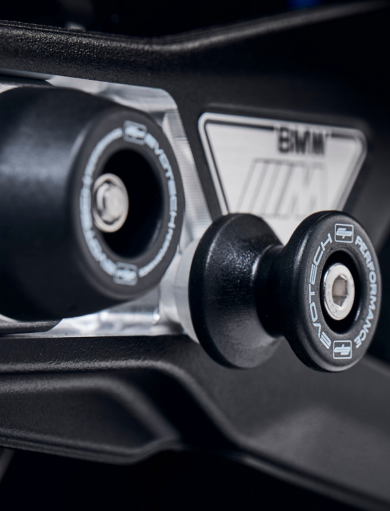
Helps to prevent potentially expensive damage to the front fork lowers (spindle, fork clamps etc).
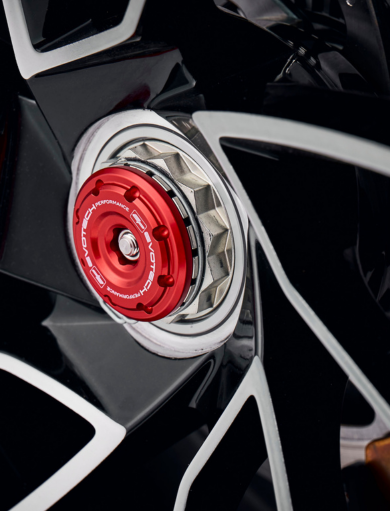
Prevents damage and gives a cleaner, stylish finish to the rear wheel spindle ends.
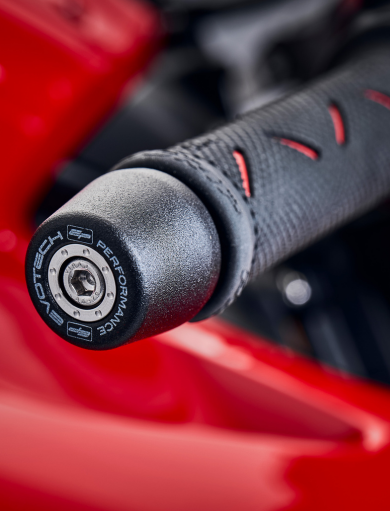
Reduces troublesome high frequency vibration and minimises damage to costly handlebars.
Aids safe and secure maintenance or long-term storage while using a paddock stand.
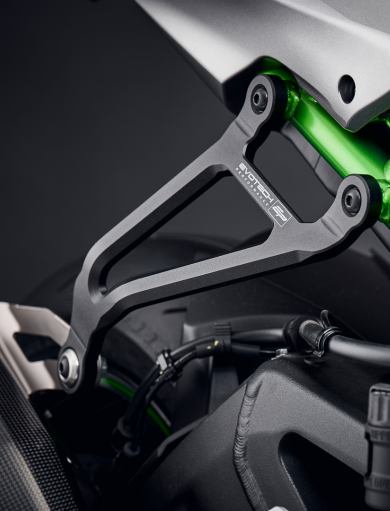
A CNC machined cost-effective replacement exhaust hanger that is lighter and delivers improved race-like styling.
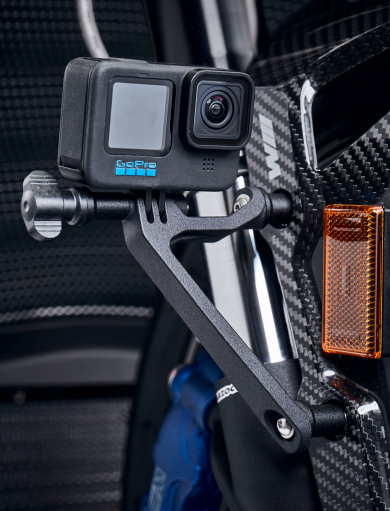
EP's action camera mount allows the rider to record the ride from the optimum viewing position.
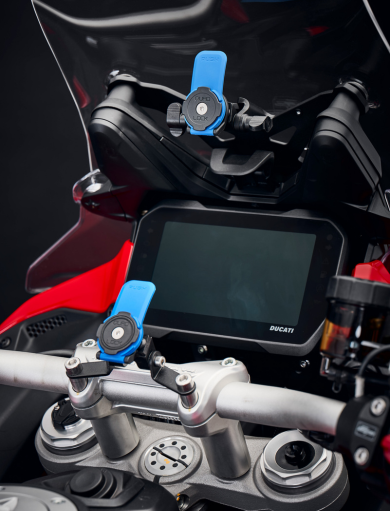
Secure and adjustable model-specific mounts for market-leading sat nav and smartphone systems.
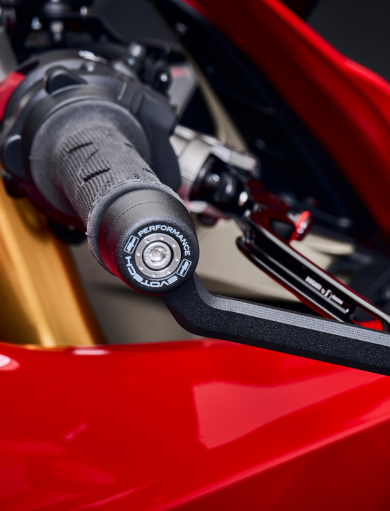
Prevents accidental application of the front brake lever. CNC machined from billet aluminium and stainless steel.